
How to replace the front glass on the Aduro H6 Lux?
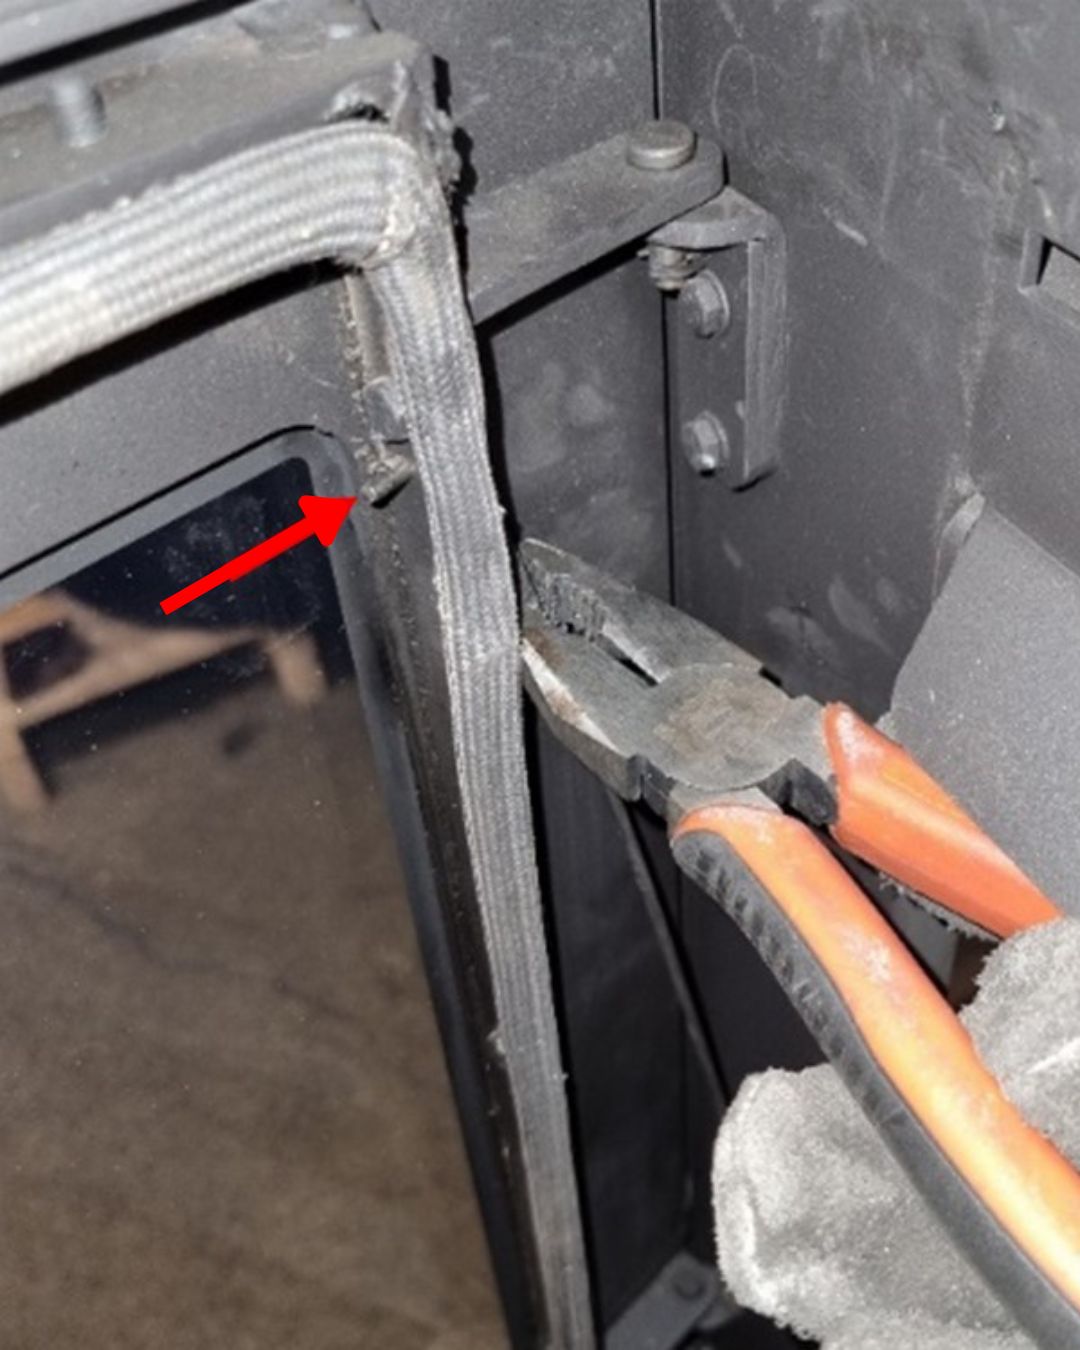
Image 1
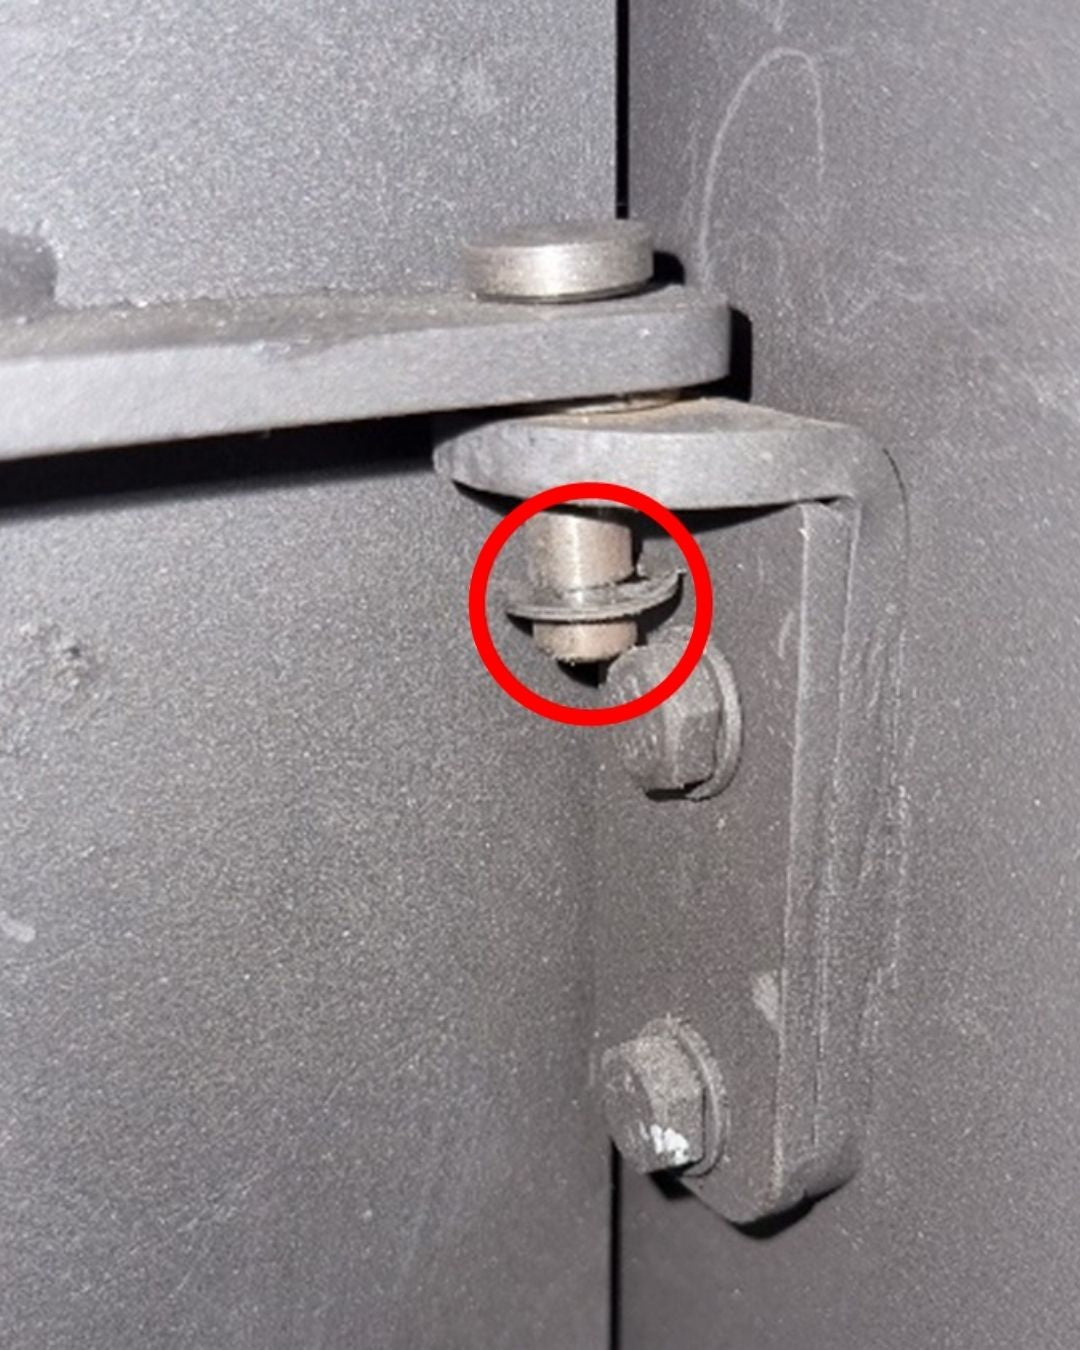
Image 2
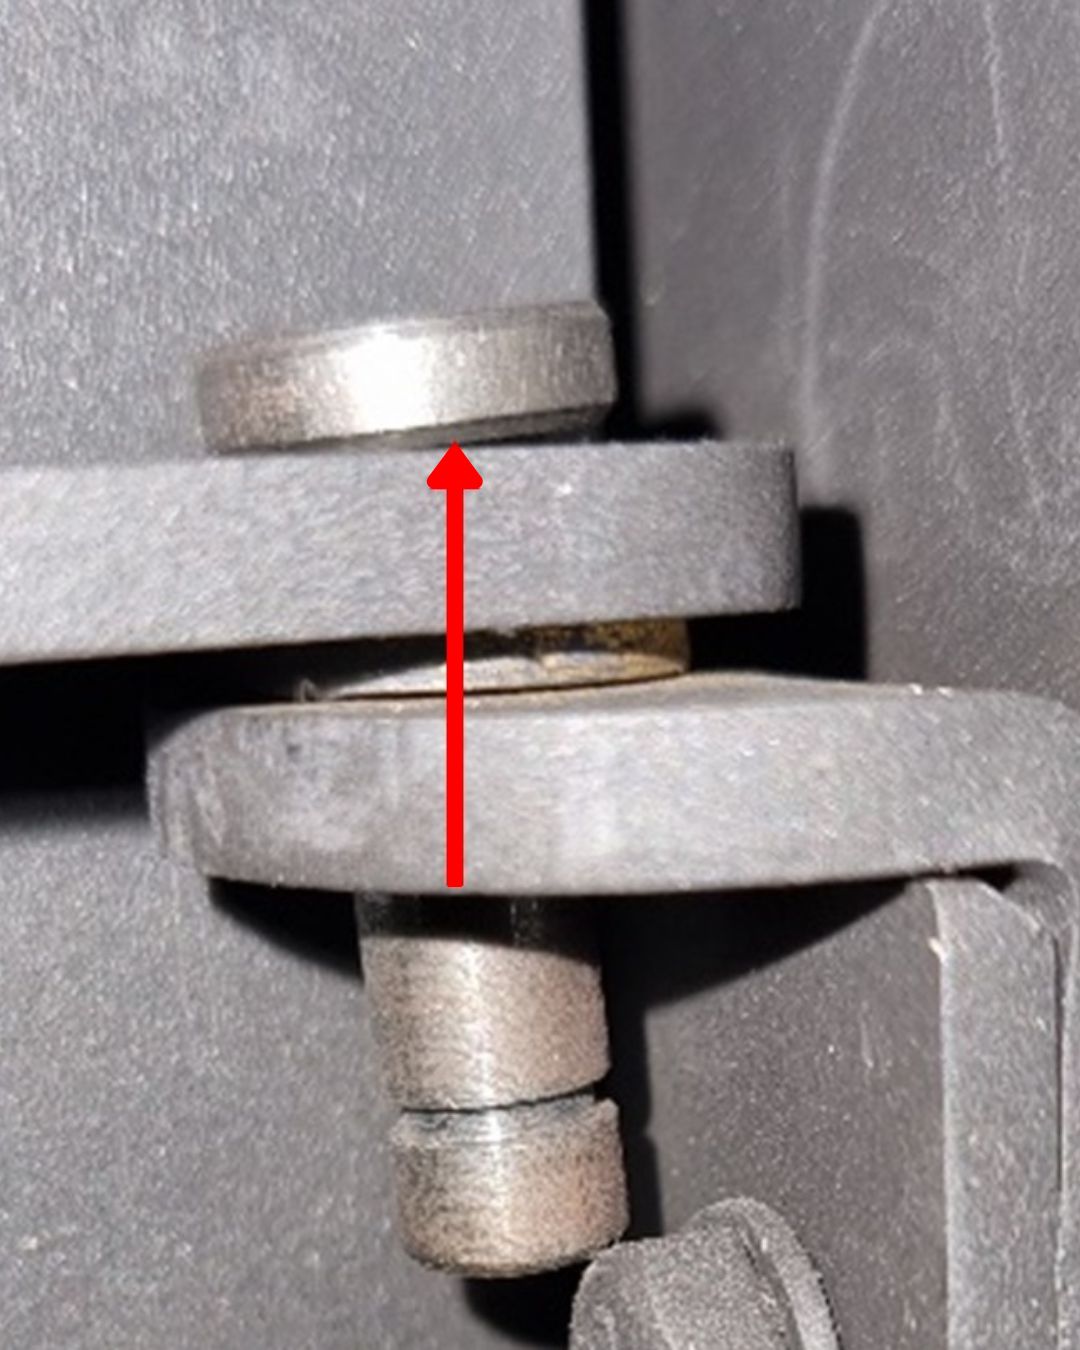
Image 3
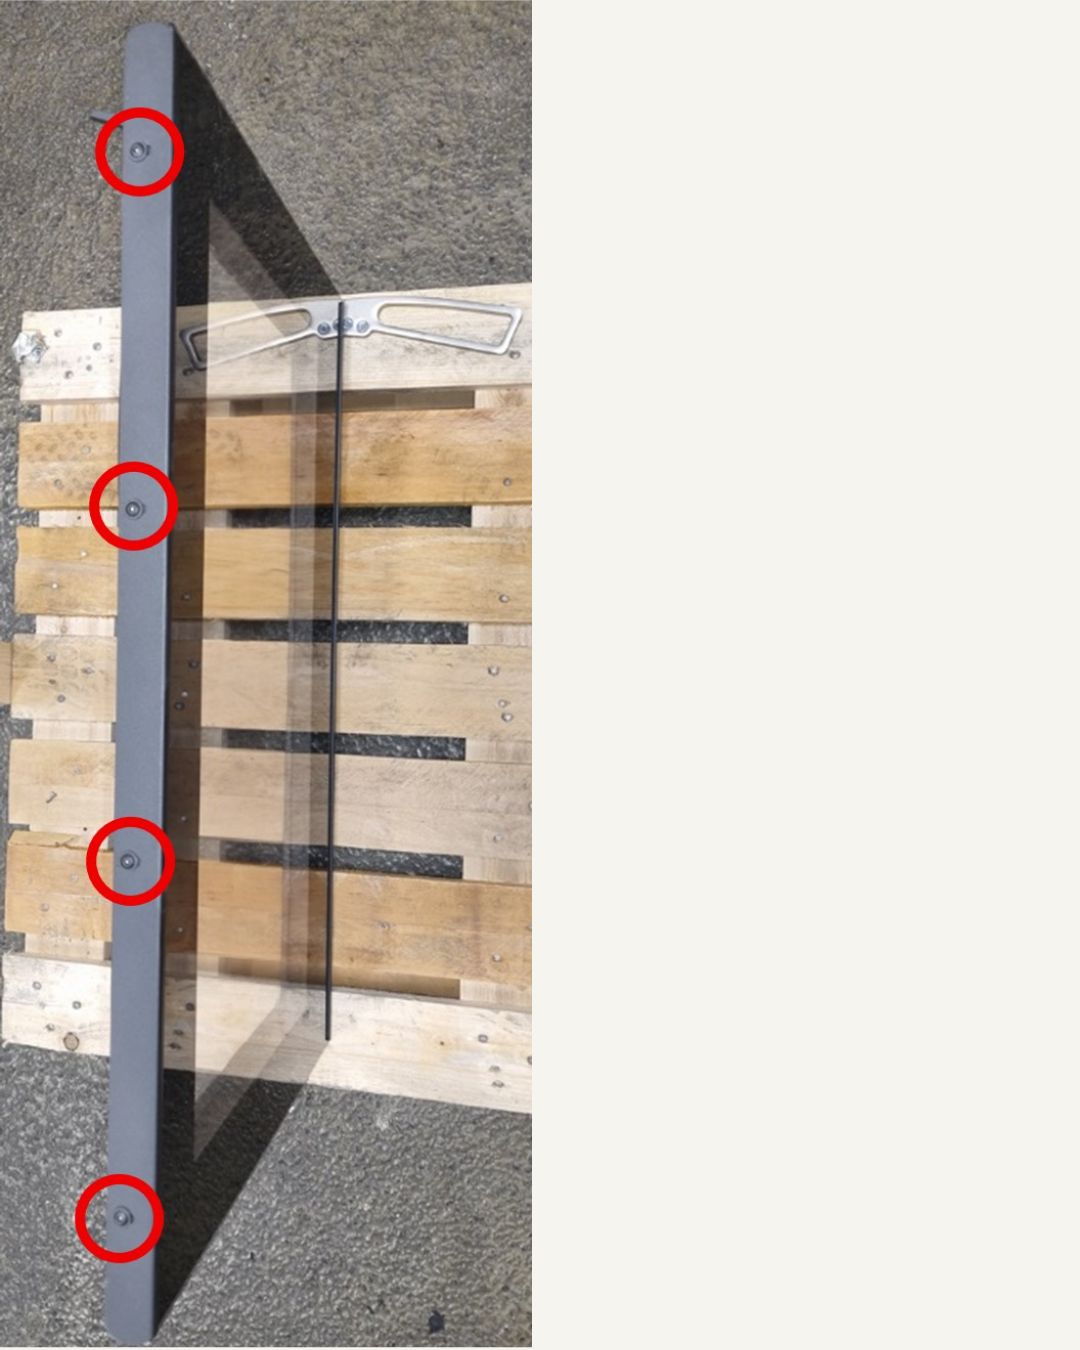
Image 4
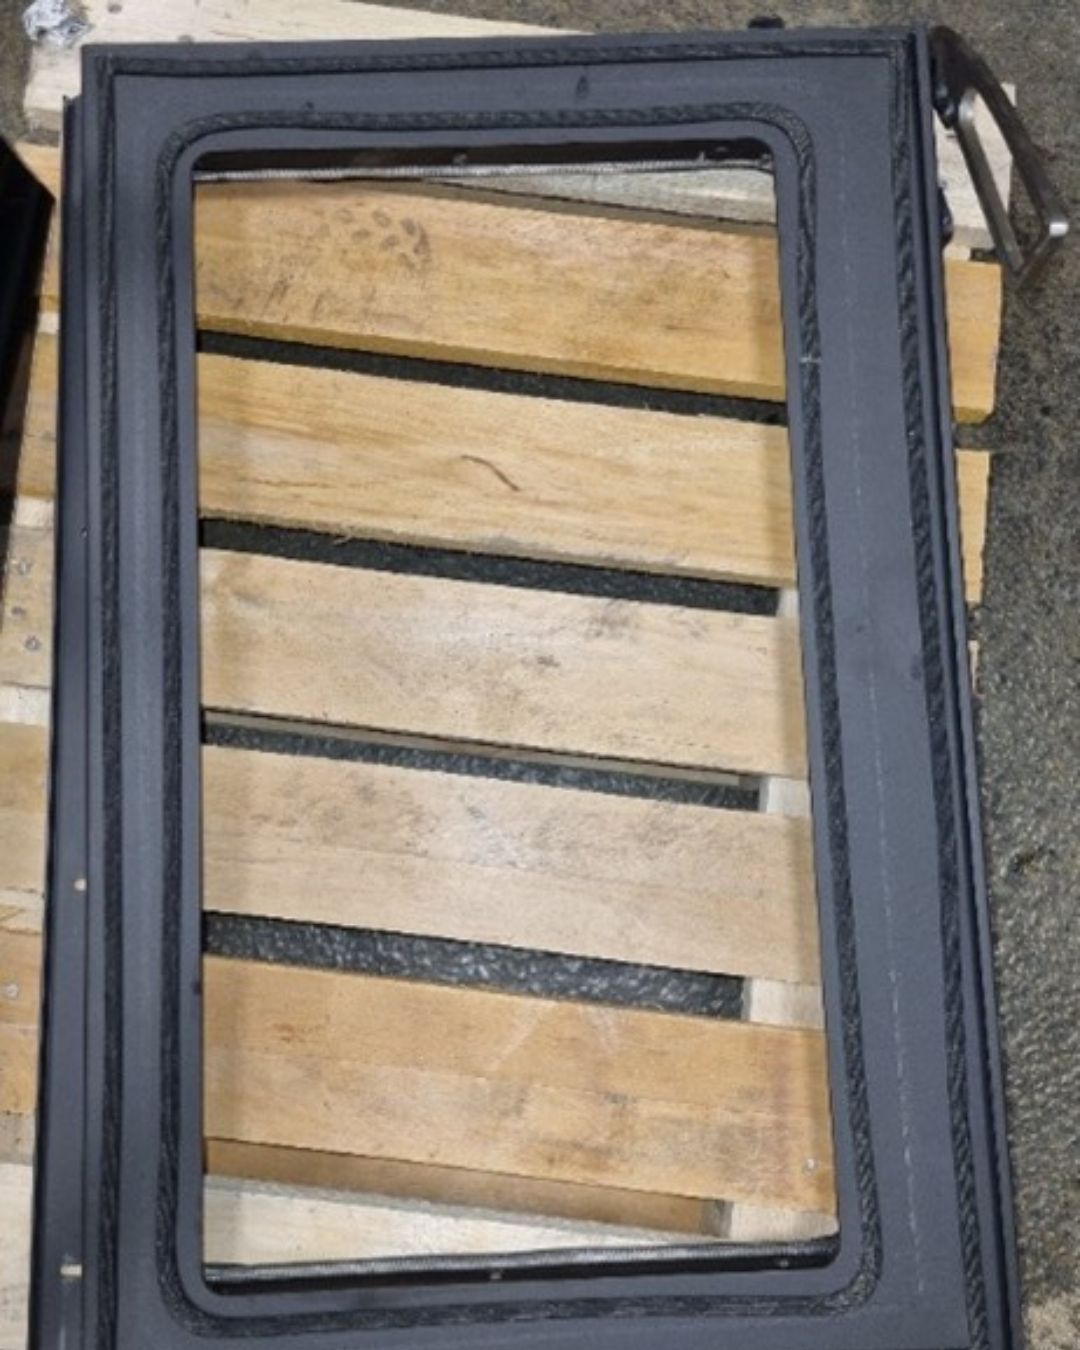
Image 5
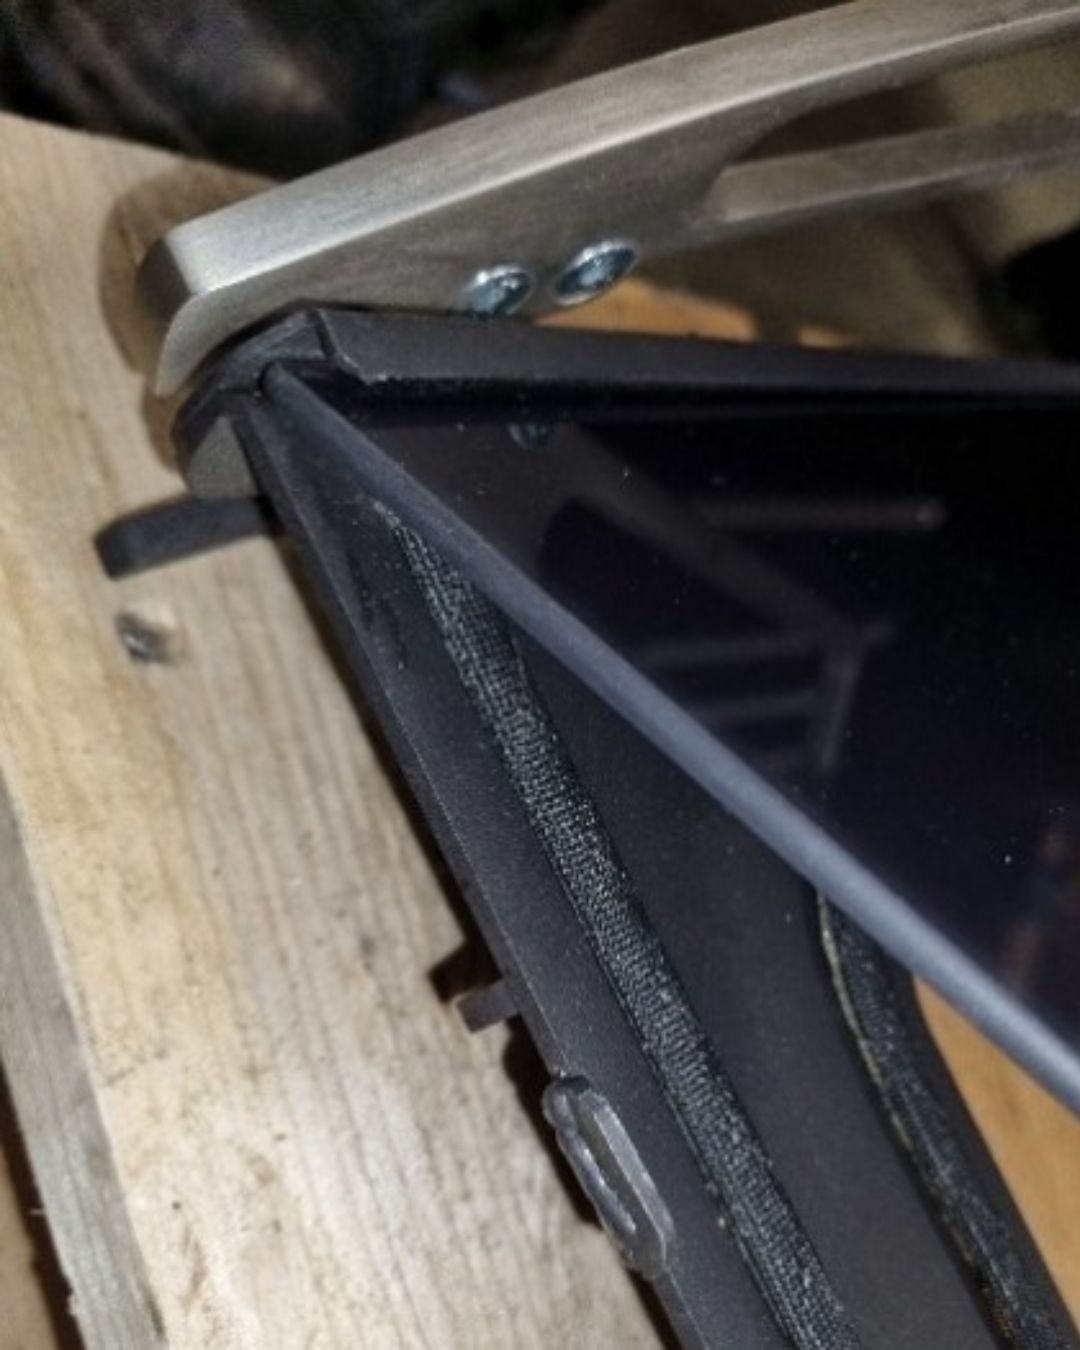
Image 6
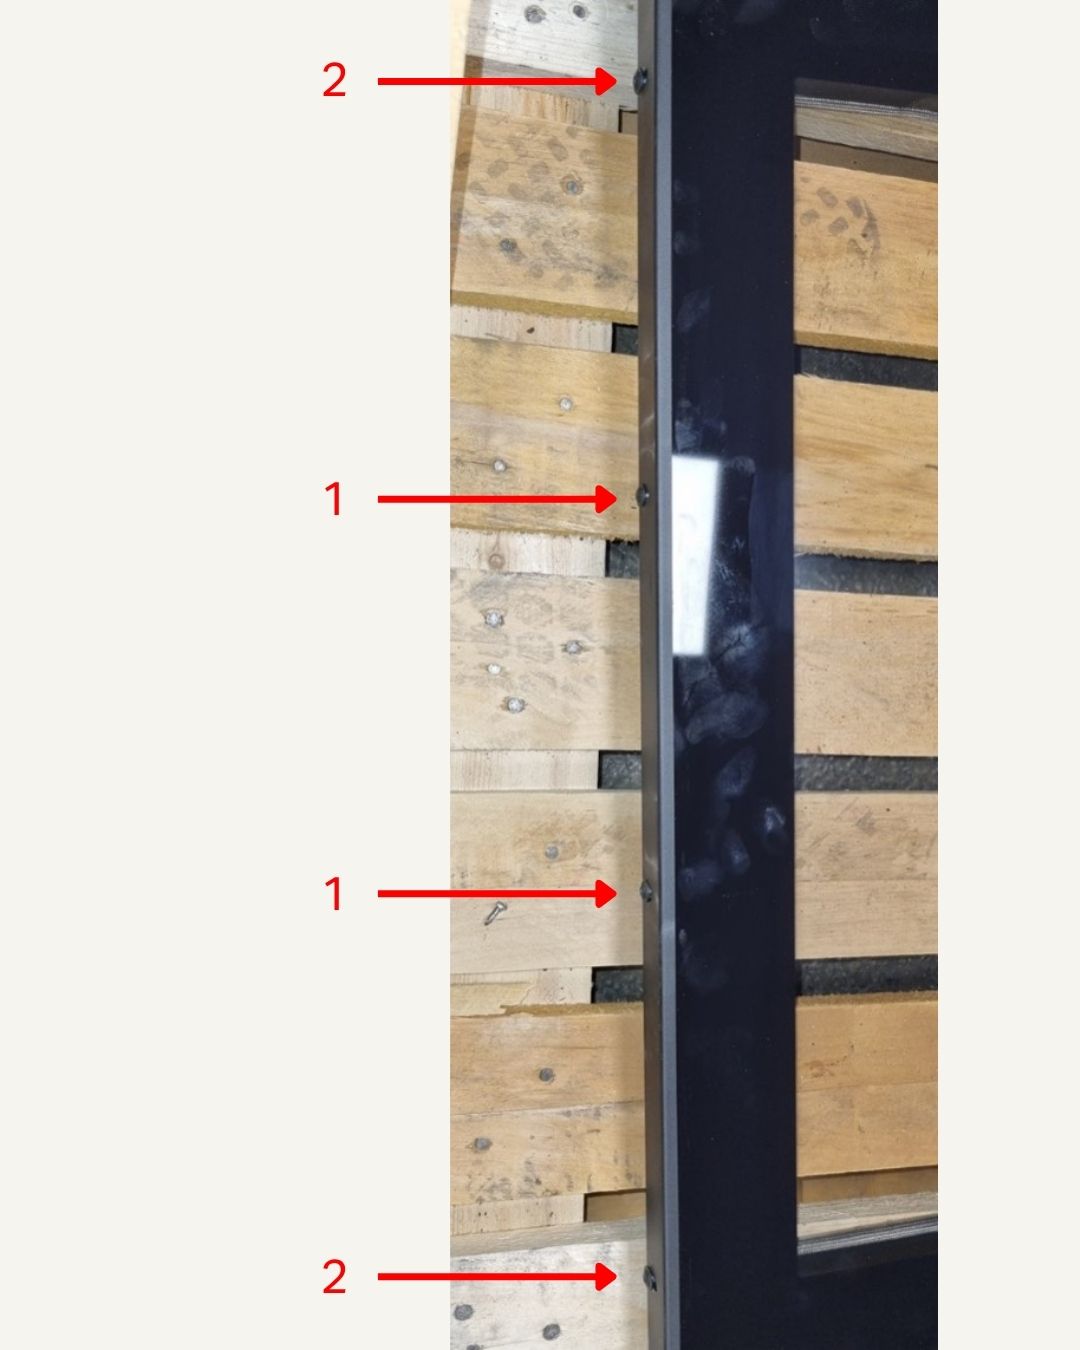
Image 7
Image 8
Image 9
Read more
How do I adjust the door and closing mechanism on the Aduro 9, Aduro 15, Aduro 17, Aduro 22, and Hybrid series?
How do I maintain the gaskets around the door?
When should the gaskets be replaced?
Why does the door close automatically?
Why do ash and smoke come out when I open the door?
Why does soot appear on the glass?
How do I clean my Aduro hybrid stove?
How do I replace the burning cave gaskets on my Aduro Hybrid or P5 stove?
Did you not find, what you were searching for?